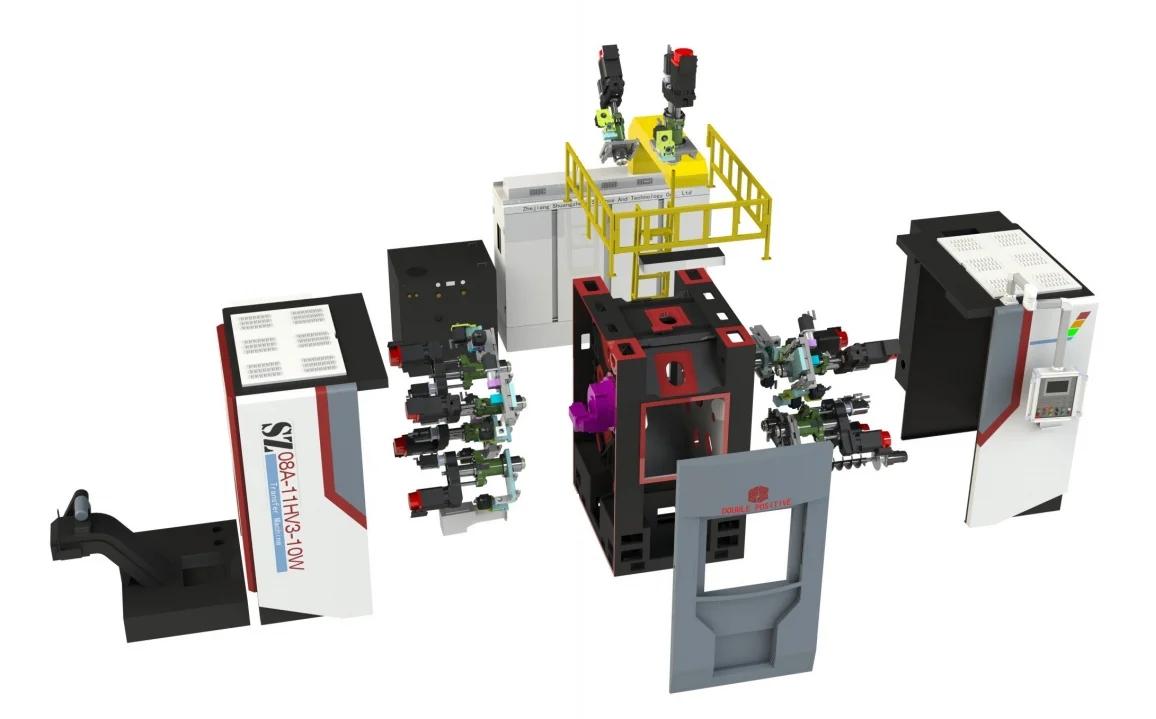
numerical control machine tool is an automatic machine tool equipped with a program control system. The control system can process the program with control code or other symbolic instructions logically, decode it, represent it with coded numbers, and input it into the NUMERICAL control device through the information carrier. After processing, the CNC device sends out a variety of control signals to control the machine tool action, and automatically machined the parts according to the shape and size required by the drawings. What is the content of automatic CNC lathe linear motion positioning accuracy detection?
1, linear motion repeated positioning accuracy detection
The instruments used for testing are the same as those used for testing positioning accuracy. The general detection method is to measure any three positions near and at either end of the midpoint of each coordinate stroke. Each position is positioned with fast movement, and the position is repeated 7 times under the same conditions. Measure the value of the stop position and calculate the large difference in the reading. Coordinate repeated positioning accuracy takes half of the big difference of the three positions, and adds a plus or minus sign. It is a basic index that reflects the stability of shaft motion accuracy.
2. Detection of linear motion positioning accuracy
The positioning accuracy of linear motion is generally carried out under no-load conditions of machine tools and worktables. According to the provisions of national standards and the International Organization for Standardization (ISO standard), the detection of automatic CNC lathes should be measured by laser. In the absence of a laser interferometer, the average user can also use a standard scale with an optical reading microscope for comparative measurements. However, the accuracy of the measuring instrument must be 1 or 2 grades higher than the accuracy of the instrument being measured. To reflect all errors at multiple locations, the ISO standard specifies that each anchor point is averaged by 5 measurements, and the anchor point dispersion band is formed by a -3 dispersion band.
3, linear motion origin return accuracy detection
The return accuracy of the origin is essentially the repeated positioning accuracy of a special point on the coordinate axis, so its detection method is exactly the same as the repeated positioning accuracy.
numerical control machine tool brand automatic measurement linear motion detection tools include: optical reading microscope, micrometer and block gauge, standard ruler and dual-frequency laser interferometer, double-head engraving machine rotary motion detection tools include: High precision circular grating and parallel light tube, 360° tooth precision standard turntable or polyhedral perspective, high precision circular grating and parallel light tube, etc.
numerical control machine tool https://www.zjshuangzheng.com/

